Pattern Move - Floating & Fixed Fasteners, Gravity, Partial Pin, all with Model Variants
Webinar On-Demand
DIGITAL GD&T SERIES PART 6
Learn from Gary Bell, Senior Variation Analyst, as he demonstrates the Pattern Move and its many applications:
- Pattern Move Basics
- How to validate your Pattern Moves
- Effects of using Pattern Move with Points or Features
- Floating Fastener - Common and Multiple Pins
- Floating using traditional moves incorporating iteration move
- Gravity Move (Pattern Rigid)
- Partial Pin Move
When: Thursday, January 31st at 11 am EST
Watch On-Demand: https://mkt.3dcs.com/digital-gdandt-pattern-move-hole-pin-fasteners
-- Review on Creating a Pattern Move --
Excerpt from the DCS Training Manual
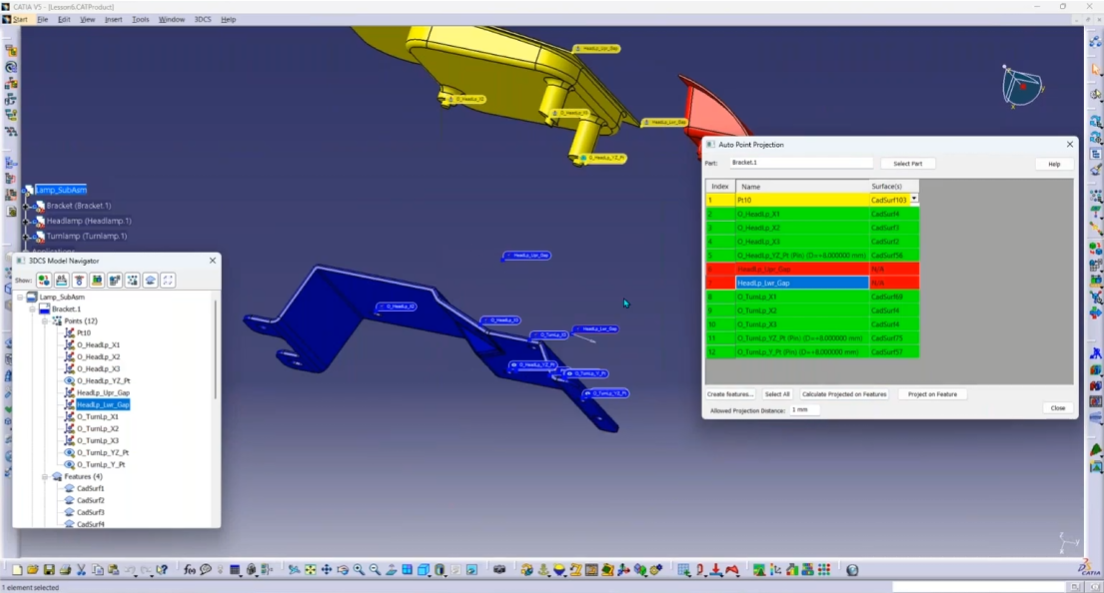
We will use the Pattern Rigid Move to remove the interference between the Turnlamp pins and the Bracket holes. The purpose of the Pattern Rigid Move is to assemble two rigid parts that use patterns of pins and holes as the secondary and tertiary locators. When Nominal Build is performed, the move routine will fit together the patterns of holes and pins.
Since the Pattern Rigid Move is locating only the secondary and tertiary locators, a preliminary move is first needed to move the object part primary locators to the target part primary locators. This can be done with a preliminary move such as a Step Plane Move which we already have for the Turnlamp.
- Click the
 Moves button then select the Lamp_SubAsmLamp_SubAsm_Lesson8.
- Select Pattern Rigid from the drop-down list next to [Add Analyst].
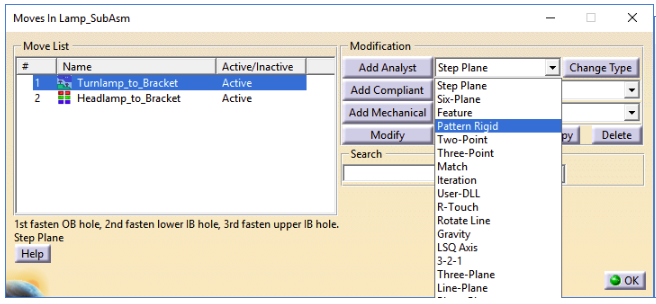
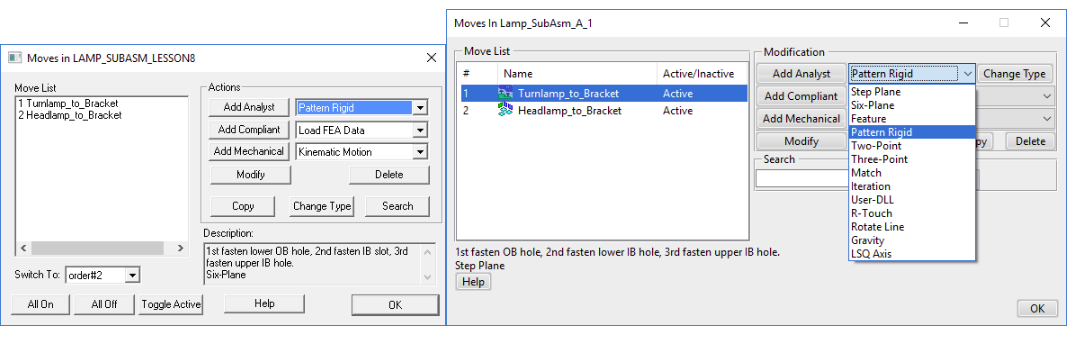
Click [Add Analyst]. This will open the Pattern Rigid Move dialog.
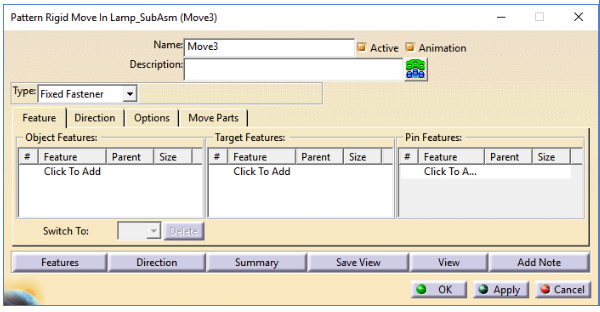

- Change the Name to "Turnlamp_to_Bracket_Pattern".
- Add the Description of "4way, 2way, and clearance hole and pin pattern."
- Set the Type to Fixed Fastener.
- Select the Feature tab.
- Under Object Features, select Click to Add[ + ].
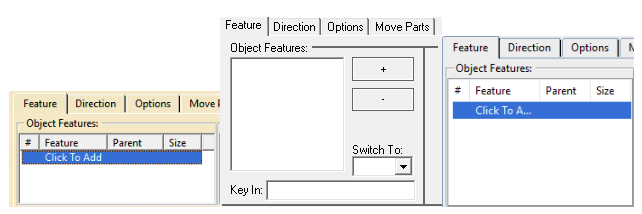
- Select the features TurnLp_YZ, TurnLp_Y, and TurnLp_Clear in the Turnlamp.
- Click [OK][Close] to close the Pick FeatureSelect dialog.
- Under Target Features, select Click to Add[ + ].
- Select the features TurnLp_YZ, TurnLp_Y, and TurnLp_Clear in the Bracket.
- Click [OK][Close] to close the Pick FeatureSelect dialog.
The Feature tab should look like the following image.

- Select the Direction tab.
- Set the Dir. Type to AssocDir.
- Select the Move Parts tab.
- Verify the Turnlamp is in the Move Parts list.
- Click [OK] to save the move and close the dialog.
- Click [OK] to close the Moves dialog.
- Select
 Nominal Build then
  Run Analysis.
- Set the Total Runs to 2000.
- Check the box for Retain Failed Assemblies in Statistics.

•Click [Start>>].
Learn more about the Pattern Move on the DCS Community at:
https://community.3dcs.com/help_manual/v5createapatternmove_2.htm?zoom_highlightsub=pattern+move
Register FREE -- DCS Digital GD&T Series
Don't forget to register for this month's webinar to learn more about the Pattern Move in 3DCS Variation Analysis Software


No Comments Yet
Let us know what you think