 The shift in the 3DExperience to using Manufacturing Simulation for Dimensional Analysis changes the way 3DCS stores data and creates simulations.
In this Tips and Tactics, we explore the methods of sub-assembly tolerance analysis modeling when using 3DCS for V6 in the 3DExperience, starting with the process of bringing 3DCS models from CATIA V5 into CATIA V6.
To take advantage of the powerful tools and platform that is the 3DExperience, you have to first either create new models in CATIA V6, or bring your previous models over from CATIA V5. Let's assume you've been working in CATIA V5 on a 3DCS model for a while now, and would like to move it over into CATIA V6. This is done through two separate exports: exporting the WTX file from 3DCS which holds your 3DCS data (moves, tolerances, measures, etc..) and exporting the CAD data from CATIA V5 which contains your geometry.
 So let's start from the beginning in CATIA V5 by opening the model and completing those two exports:
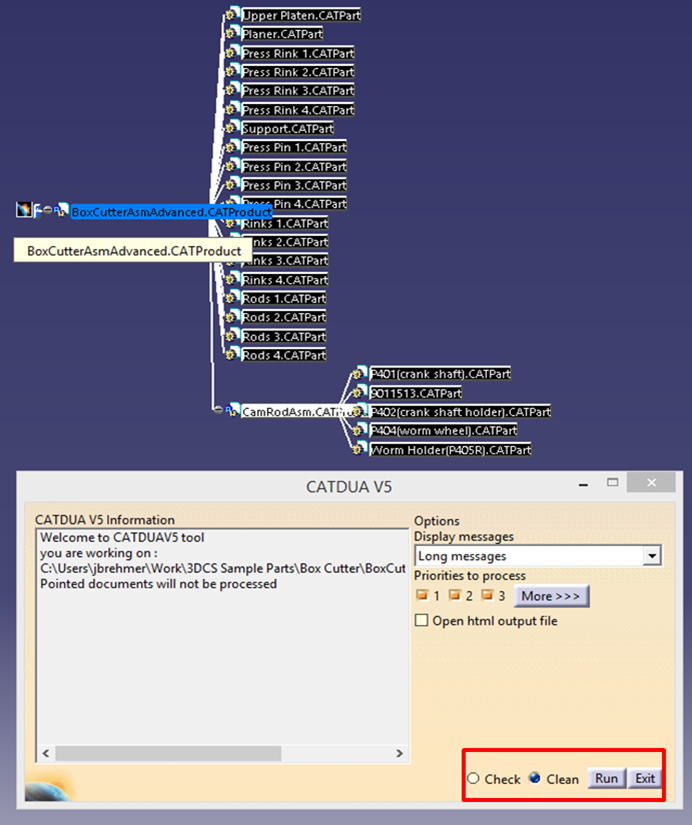
This will export the DCS data as a separate file, while clearing it off of your model, essentially separating your CAD model and your 3DCS data. This is important when bringing everything into CATIA V6.
REMEMBER: CAD Products are stored in V6 in a database, and not as files. This means that the 3DCS data cannot be stored in the CAD Product itself, and has to be stored separately as a Manufacturing Simulation. The best way to think of it, is that the 3DCS Simulation is added to a model as a separate item within the 3DExperience, and so is stored separately from the raw CAD data. This is the main reason the 3DCS data and the CAD data have to be separated before importing into CATIA V6.
Now that you've exported all of your model data, it is time to bring it into CATIA V6, which is a 3D Simulation app in the 3DExperience.
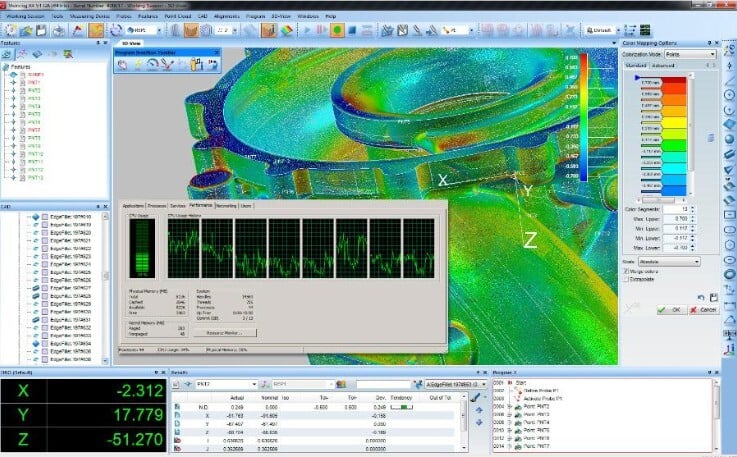
Note that the model you are bringing in is usually a sub-assembly of a larger assembly, such as a headlamp in this example as part of a larger automotive model, or a wing assembly as part of a larger aerospace model.
Start by opening the 3DExperience and activating the CATIA V6 app. Then bring in the CAD data:
 Insert menu and select Import -> CATIA file
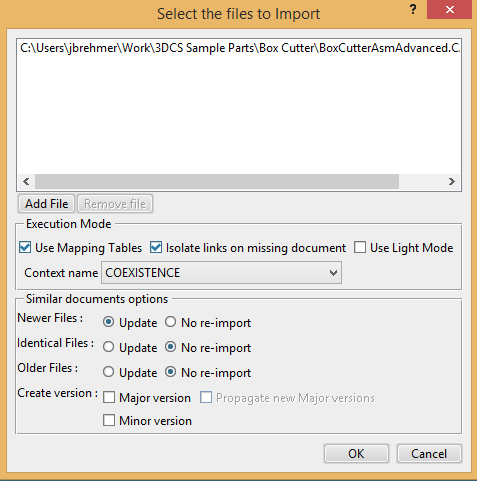
Note: If the process fails, run through the first eight steps at the top to export new CAD data.
Now that the CAD data has been imported, it is time to add a Manufacturing Simulation to it in the form of the 3DCS data previously exported as a WTX file.
 Start by finding your model in the 3DExperience by using the Search field:
Insert menu and select Content…

DCS is constantly striving to improve 3DCS Analyst, and has added the use of publications in the latest versions. These vastly improve the ability to remove and re-add 3DCS data to your CAD product.
As you can see in the right side of the image above, the DCS data is brought into CATIA V6 as separate publications. The 3DCS data is mapped to each CAD feature as a publication, which saves the model links for the 3DCS points, measures and moves. These links essentially remove the need for the user to remap or remodel any of the 3DCS data onto the geometry, making the import fast and almost effortless. Without the use of publications, the user would have to manually re-apply the 3DCS data onto their model, which would be time consuming and tedious.
For more on publications, take a look at the Tips & Tactics on using CATIA publications.
To add the sub-assembly we have just imported to a larger product, we begin by creating a new CAD product and adding a 3DCS Manufacturing Simulation to it.

Insert menu and select Physical ProductNow that you have brought in the CAD sub-assembly into the larger assembly, you need to import the 3DCS data.

This guide can be handy to have for moving CATIA V5 products and 3DCS models into the 3DExperience. You can click here to learn more about 3DCS for V6 in the 3DExperience.
To download a pdf version of this guide , click the link below. Don't forget to sign up for DCS's newsletter to get each month's Tips and Tactics and DE Focus right in the mailbox. With no more than two emails a month, DCS promises not to spam your inbox and fill it with unnecesary messages.

North American Innovation Center
28064 Center Oaks Ct A, Wixom, MI 48393
Call us: +1 (248) 504 6200


No Comments Yet
Let us know what you think